How to Make a Snazzy Personal Website—Quickly
This article is also available on LinkedIn and Medium.
A personal website is a great place to showcase your work and your achievements. We all know that whether you want to impress at work or for your CV to go to the top of the pile on a recruiter’s desk, you have to be different—you have to be willing go further than everyone else. A sleek, professional-looking website can be one of those things that makes you unique and gives you an edge.
But where to start? You’re a busy person. If you’ve ever taken an introductory course in HTML, you’ll know that there’s a lot to learn even to make the most basic of webpages. And thanks to the fact that almost every website we visit nowadays has been crafted and polished by a team of professional web designers, we have high standards. Unless you are literally Warren Buffet you will need something more snazzy-looking.
So here’s the dilemma—how do you create a high-quality website without spending months learning HTML, CSS, and Java? One answer is to use a website builder like Wix, Squarespace or WordPress. And if you want a drag-and-drop solution without that doesn’t require you to worry too much about the details, then that may be enough for you. Another solution, which potentially offers a middle ground between using website builder and the full-blown do-it-yourself coding approach, is building a site in R using blogdown.
blogdown is an R package based on Hugo, which is a popular static site generator (static sites display the same content for each visitor, whereas dynamic sites can do more complicated things. A static site will work perfectly well for our purposes here). blogdown is great because it gives you a level of flexibility and control over your website without being overwhelming. If something does go wrong or if you want to implement something new, then you have the RStudio, GitHub, and Stack Overflow communities at your disposal to help you learn what to do. And critically, there’s a wide range of themes to pick from to use as templates—beyond some initial setup, you will be free to focus on the content of your site.
Shall we get started?
Download R and RStudio, install blogdown
Firstly, you will need to download R (the base language we will be using) and RStudio (which provides a nicer interface and a bunch of additional useful features). Let me stress at this point that the required R knowledge is minimal!
- R is available at www.r-project.org. Click the download link and select the URL of the location closest to you. Select your operating system, the base distribution, download and install.
- Rstudio can be downloaded from the Rstudio website.
Once R and RStudio are downloaded and installed, boot up RStudio. Hit Install from within the Packages pane (Ctrl + 7 is the shortcut to bring it up if it doesn’t appear automatically) and search for the blogdown package. Keep “install dependencies” ticked and click the install button. RStudio will handle the rest.
Choose a theme
At this point, you can also choose a theme. There are loads to choose from, each suited ato different purposes and tastes. For my personal website I went with the ghostwriter theme by Juraj Bubniak due to its simplicity. If you would prefer to work with a different theme, go ahead! The process is largely independent of the starting template.
I would, however, recommend doing some research to find someone who has published their website (and associated files) under the same theme. That way, if you run into a problem or an error, as well as having the support of the online communities mentioned earlier you have the option of comparing what you’ve done to a working version of your chosen theme. If you opt for the ghostwriter theme like me, then I’ve uploaded the files for my website on Github for reference.
Start a New Project in RStudio
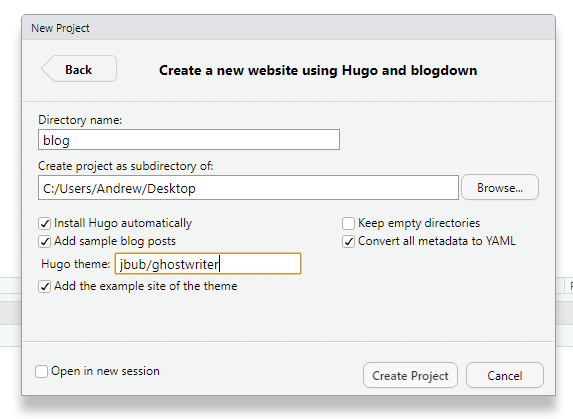
Once you’ve booted up RStudio, hit File and then New Project. Start the project in a new directory and then select “Website using blogdown” as the Project Type. Set a name for your directory (eg “blog”) and select where you want to save the directory on your computer (eg Desktop).
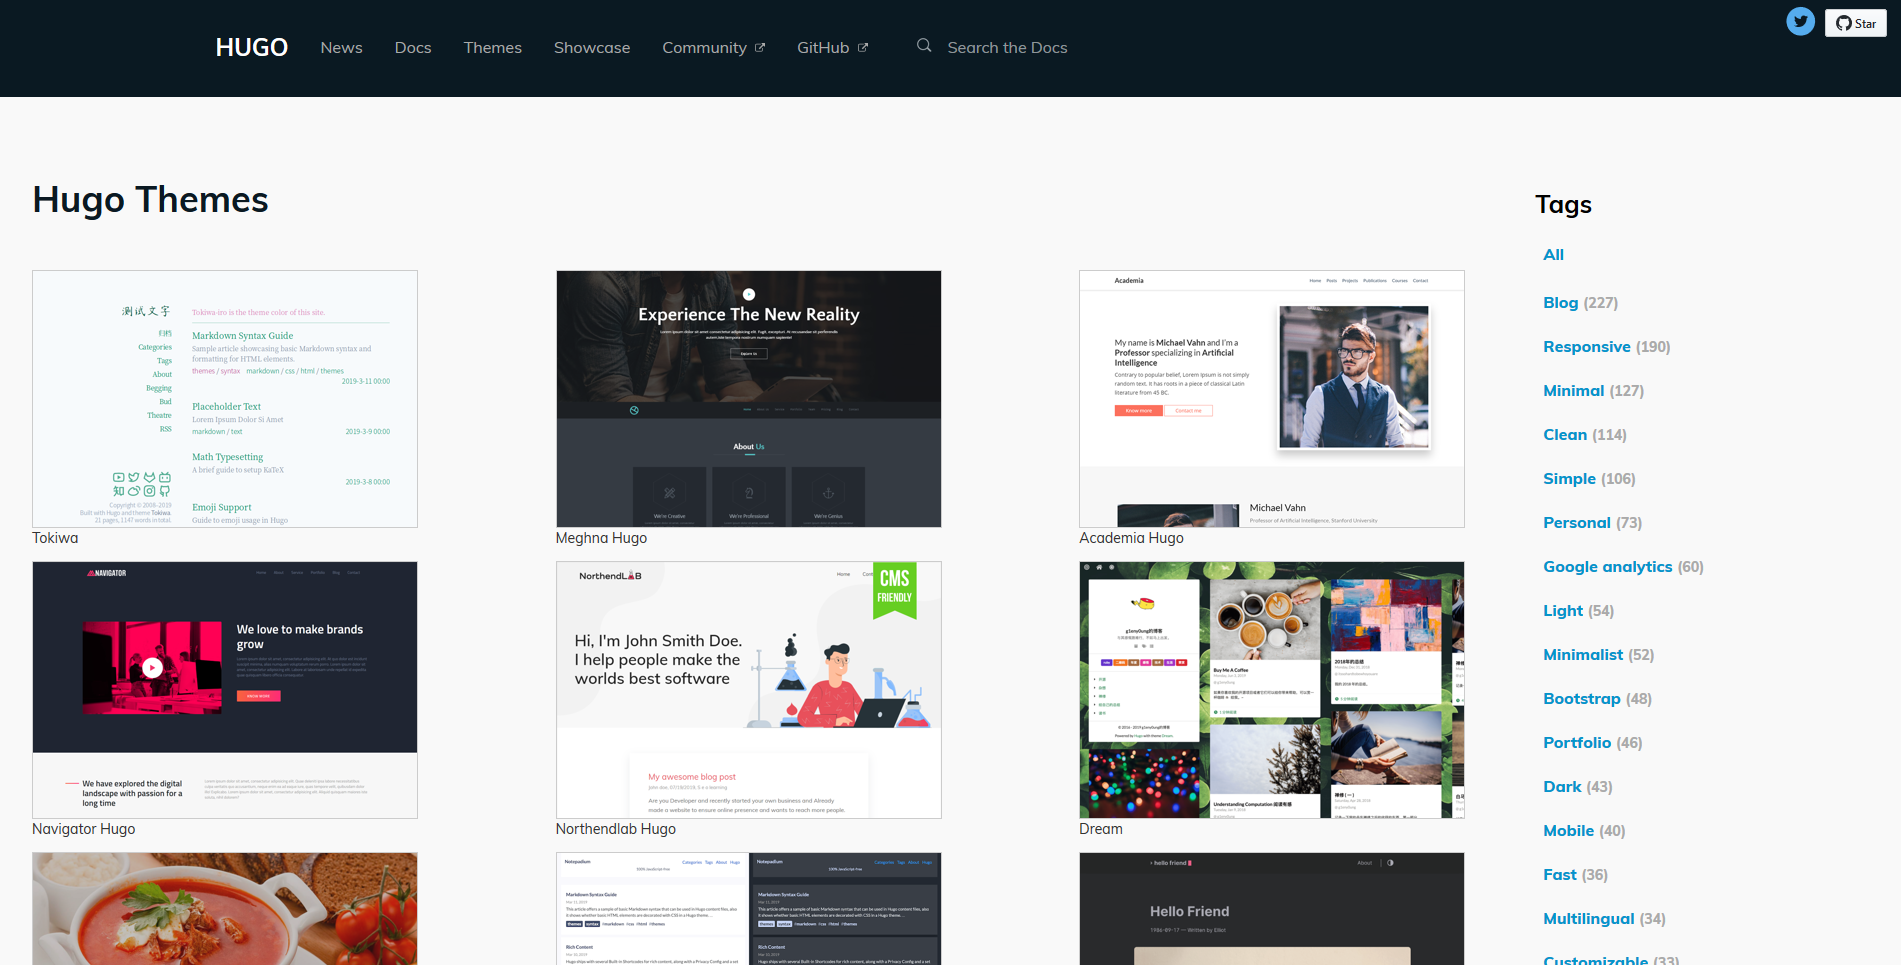
To load your theme, you will now need to enter the location of the theme on GitHub in the “Hugo theme” textbox. Don’t panic—this is actually quite simple. If you click on your chosen theme from the Hugo Themes page and scroll down to the “Usage” section, you’ll find a GitHub link to the directory where the files are saved. You’ll need to take the last part of this link—the part of the form user/theme-name. For example, for the ghostwriter theme this is jbub/ghostwriter.
Once you’ve done that, hit “Create project” and your website template will be created for you.
Build your website
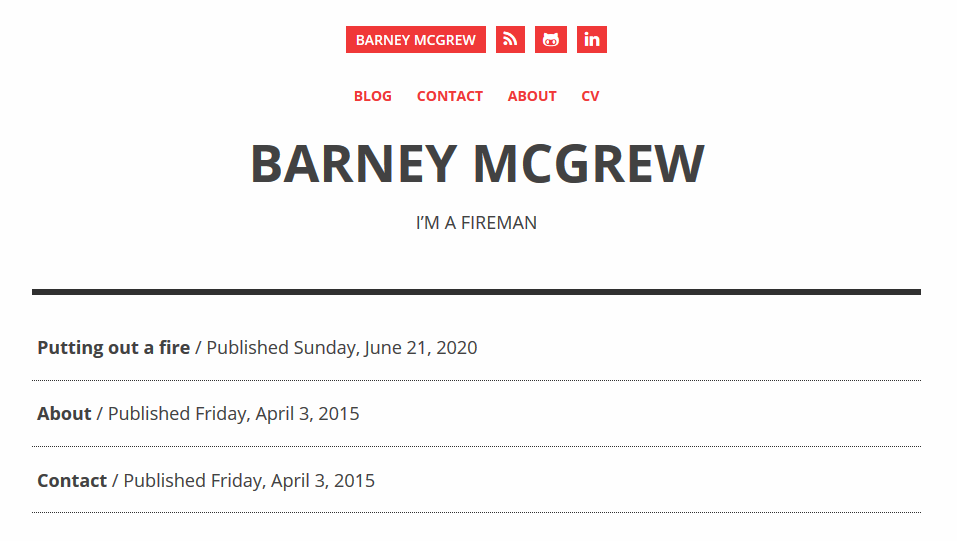
Let’s take a look at your website so far. Run blogdown::serve_site() in the R console and click the pop-out window button at the top-left of the Viewer pane to see the site in your browser.
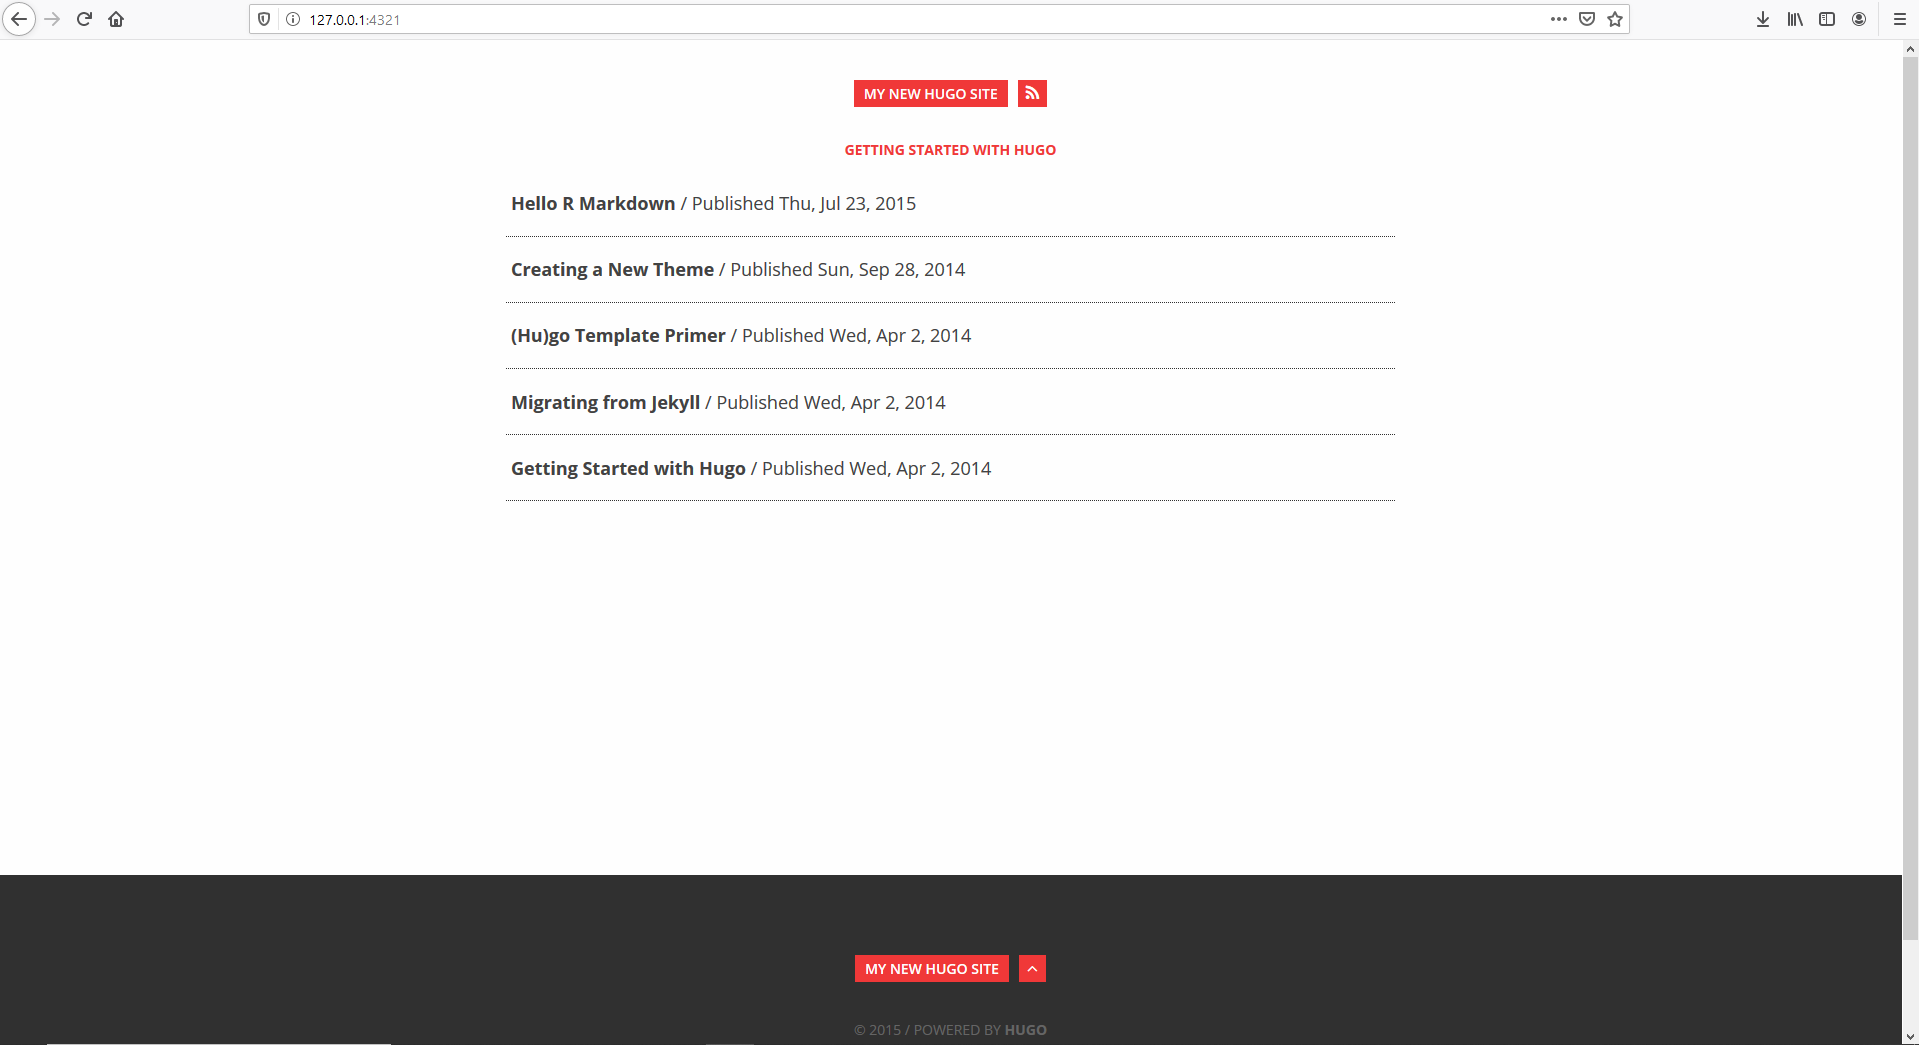
Not bad for our time investment so far, but depending on the template you chose, it may be looking rather empty (or full of filler text). Let’s cover some of the basic things you might want to do to get your site shipshape. When creating the project, blogdown would have created a complicated file structure in your chosen directory, but there are actually only a few files that you need to change to modify the site and add content. The following instructions may vary for different themes, but the principles will be applicable across them all.
I want to change the landing page and add new sections to the site (eg About, Contact, etc)
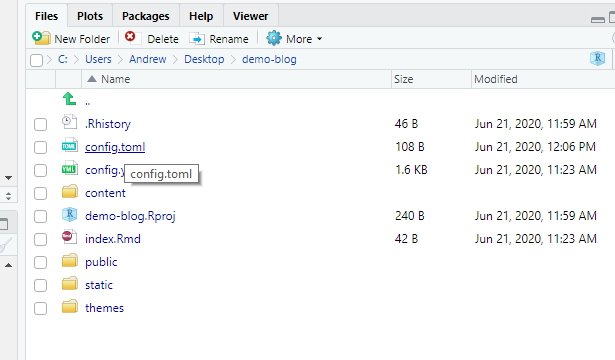
You’ll be able to do this by modifying the config.toml file in the top layer of your site’s directory. Using RStudio’s Files pane, you can navigate to and edit the contents of this file. Initially, it may be quite empty (this is the case for the ghostwriter theme):
theme = "ghostwriter"
baseURL = "http://example.org/"
languageCode = "en-us"
title = "My New Hugo Site"
When I made my site, I did some research on this file to see what was possible and what others had used. I changed it to something like the following:
baseurl = "/"
title = "Barney McGrew"
theme = "ghostwriter"
languageCode = "en-us"
copyright = ""
disqusShortname = "XXX"
googleAnalytics = "XXX"

ignoreFiles = ["\\.Rmd$", "\\.Rmarkdown$", "_files$", "_cache$"]

[Privacy]

[Privacy.disqus]
    disable = true

[Privacy.googleAnalytics]
    anonymizeIP = true
    respectDoNotTrack = true
    useSessionStorage = false

[Author]
    name = "Barney McGrew"
    profile = ""

[Taxonomies]
    tag = "tags"

[Params]
    intro = true
    headline = " Barney McGrew "
    description = "I’m a fireman "
    github = "https://github.com/barneymcgrew"
    gitlab = ""
    linkedin = "https://www.linkedin.com/in/barneymcgrew "
    gplus = ""
    twitter = ""
    stackoverflow = ""
    email = ""
    opengraph = true
    shareTwitter = true
    shareFacebook = true
    shareGooglePlus = true
    shareLinkedIn = true
    dateFormat = "Monday, January 2, 2006"
    highlightJsUrl = ""
    highlightJsLocalUrl = ""

[Permalinks]
    post = "/:year/:month/:day/:filename/"

[[menu.main]]
    name = "Blog"
    url = "/"
    weight = 1

[[menu.main]]
    name = "Contact"
    url = "/page/contact/"
    weight = 3

[[menu.main]]
    name = "About"
    url = "/page/about/"
    weight = 4

[[menu.main]]
    name = "CV"
    url = "/page/cv/"
    weight = 5
The most significant parts of the above code are the [Params] and [[menu.main]] sections, although you should customise the rest where possible too. Under Params, you can set a headline and description to show on the site’s main page. You can also add in links to any other online profiles you have. You can add or remove menu.main sections to create new sections of the site which you want to be accessible from the main page. You can also set the url for these subpages.
How do I add a blog post?
To add content to your website, navigate to the “content” subfolder and go into “page”. This is where blogdown will look for pages to put on your website. To create one, go to File -> New File -> R Markdown. Set the title and author for your post (you can leave the output format as HTML). Clicking OK, you will be greeted with a freshly made .Rmd (R Markdown) file with some automatically generated text telling you how to include R code and plots in your post. For a simple text-and-image blog post, you won’t need this—so you can delete and replace it with these parameters:
---
title: "Putting out a fire"
description: "If you accidentally start one"
author: ""
date: 2020-06-21T22:12:42+12:00
draft: false
---
This bit of preamble allows you to enter various publishing information about your post. Below the second “- - -“ is where you can start writing your blog post’s text.
When you want to see how your post looks on the site itself, you will need to run the command blogdown::build_site() in the R console. blogdown will then do the necessary legwork to ensure that your R Markdown file is rendered properly for the site. Run blogdown::serve_site() again to pull up your website.
How do I add a link?
To add a link, surround the text you want to be a hyperlink with square brackets and follow it up with the destination web address in rounded brackets, like so:
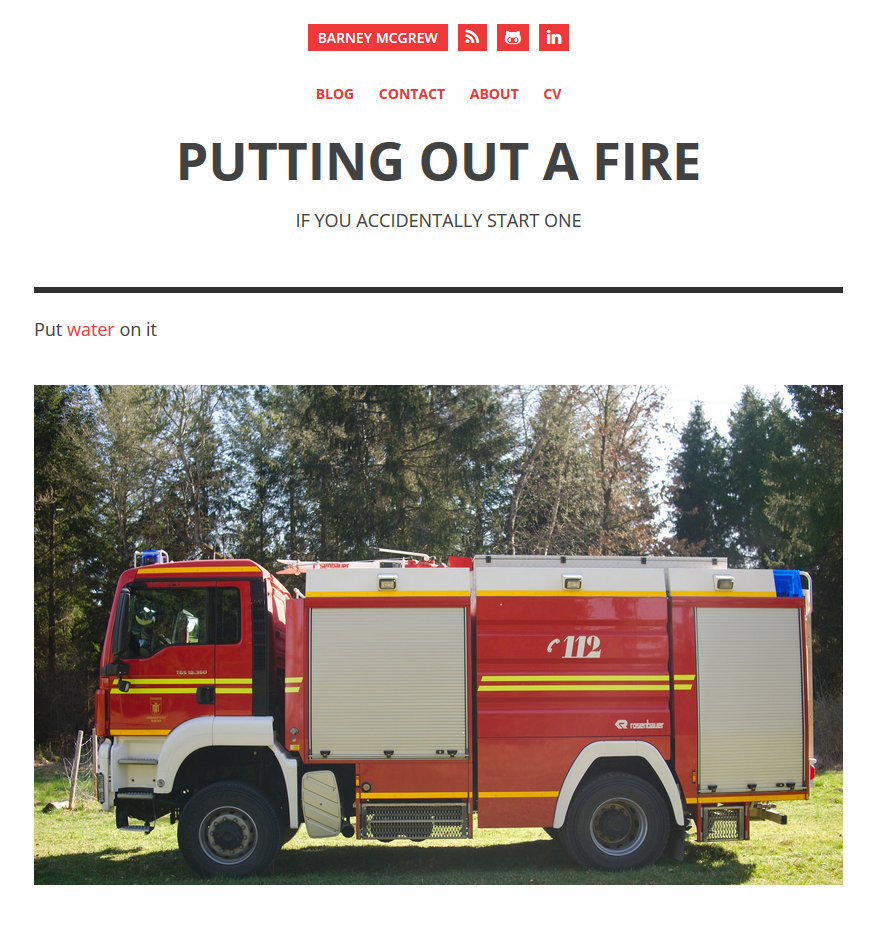
Put [water](https://en.wikipedia.org/wiki/Water) on it
How do I add an image?
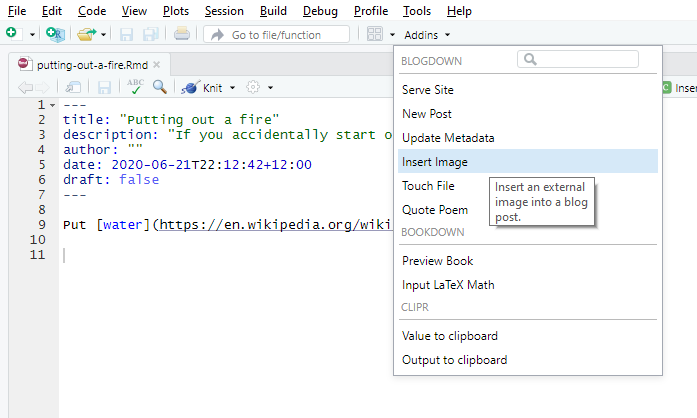
Within the .Rmd file for a post, move the cursor to where you want the image to be. Click the “Addins” dropdown and select “Insert Image”. This will take you to an interface where you can browse your computer’s files for an image.
After clicking done, the hard work will be done for you—the image file will automatically be put where it needs to be so that it is rendered on the website. A link to where the image file has been saved in the site directory, like that seen below, will also be generated. You can move this link around in relation to the rest of your blog text to make the image appear where you want.

Where can I go for more?
You will likely need to do some research to learn how to do more complex things. As mentioned earlier, try the GitHub, RStudio and Stack Overflow communities. There’s also the blogdown documentation for a comprehensive overview of what’s possible.
Ok, so I have a site now—how do I put it on the internet?
This is the easy part! One of the simplest ways is to go to Netlify and create an account. Once you’ve verified your email address, the first page you see will invite you to drag and drop your site folder onto it.
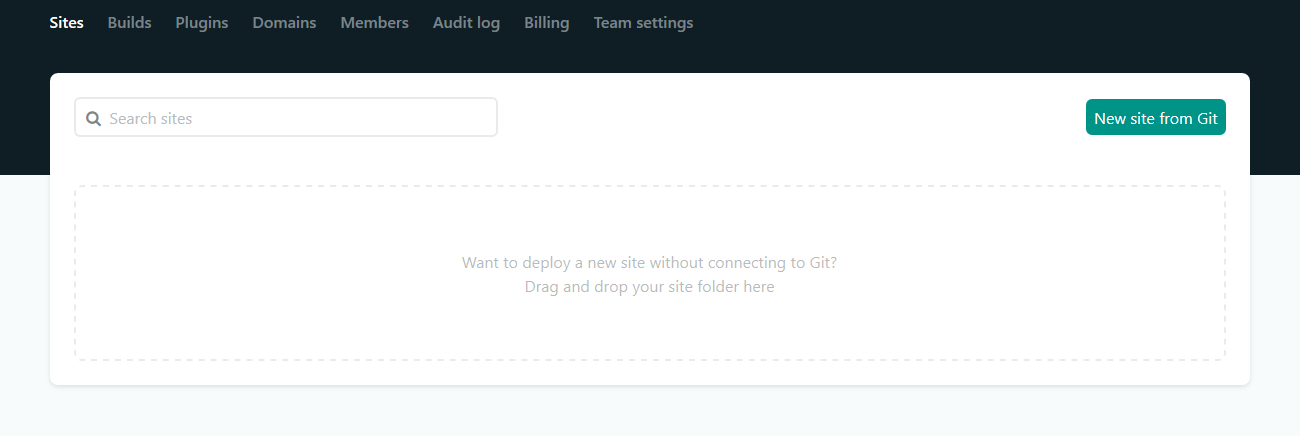
Here’s the important part—drag and drop your site’s “public” folder onto the Netlify interface, as it suggests. Within seconds your site will be uploaded and within minutes it will be deployed, meaning that it will now be accessible to anyone with the link. Hooray! Congratulations, siteowner!
Now, the default url generated by Netlify for your site will likely be a bit rubbish and will probably consist of random words and a jumble of letters and numbers. You can easily change this by going into the “Domain management” section of the Settings page for your site. For free, you can have any available domain name—although it will end with “.netlify.app”. If you want your very own custom domain, then this is also very simple—click “Add custom domain” from the same domain management settings. Then, simply enter the domain name you want, check its availability, and then pay the registration fee (a modest $11 for a whole year). And voila—the process really is as simple as that.
Conclusion
My goal here was to show you that you really are only a few hours (if that) away from your own personal website. In an increasingly digital age, it really is worth the time investment to create an online space to showcase your work, your skills, and yourself.
One last word of advice for those that are bold enough to give it a go—don’t be discouraged if things don’t work right off the bat! You may feel like you’ve been stuck on the same problem for a long time, but if you persist, you will eventually experience a burst of progress when you finally crack it.
So good luck! Please share with me any success stories or difficulties you have been having—or perhaps you would prefer to send me a link to a post on your fancy new website? 😉
More info and credits
Andrew Hetherington is an actuary-in-training and data enthusiast based in London, UK.
- Connect with me on LinkedIn.
- Follow me on Medium.
- See what I’m tinkering with on GitHub.
- For reference, I’ve uploaded the files for my own personal website to GitHub—you can find them here.
Images: Laptop image by Ben Kolde. Fire truck image by Zlatko Đurić. Both on Unsplash.